Get ready to relive your favorite summer memories with Homemade Choco Tacos! Imagine the crunch of a golden waffle shell, the silky coldness of vanilla ice cream, the snap of a chocolate coating, and the salty finish of crushed peanuts — all wrapped in a handheld dessert that’s as fun to eat as it is to make. These choco tacos capture pure ice cream truck magic, and the best part is you can create them completely from scratch, right in your own kitchen.
Ingredients You’ll Need
What makes Homemade Choco Tacos a knockout dessert is how honest and straightforward the ingredients are. Each one brings something special: crunch, creaminess, luscious chocolate, or fresh nutty flavor — and when they come together, it’s dessert bliss!
- Eggs: These bind the waffle batter and give the shells a subtle, rich flavor.
- Granulated sugar: Just enough to add sweetness and help the shells crisp up beautifully.
- Unsalted butter (melted): Delivers that classic, buttery taste and keeps the shells tender-crisp.
- Milk: Lightens the batter and ensures a tender shell.
- Vanilla extract: Infuses the waffle with warm, aromatic flavor — a little goes a long way!
- All-purpose flour: Provides structure, creating shells that are sturdy and perfectly chewy-crisp.
- Pinch of salt: Balances all the sweetness for a more complex flavor.
- Vanilla ice cream: The classic choco taco filling; let it soften slightly for easier scooping and packing.
- Semi-sweet chocolate chips: Made for melting and coating — pick high-quality for the best snap and flavor.
- Coconut oil: This secret weapon thins the chocolate for smooth dipping and a glossy finish.
- Chopped peanuts (or almonds, optional): Sprinkle on top for that can’t-miss nutty crunch!
How to Make Homemade Choco Tacos
Step 1: Whisk the Waffle Shell Batter
In a medium bowl, whisk your eggs and sugar together until the mixture becomes pale and thick — this step helps create the lightest shells. Then whisk in the melted butter, milk, and that splash of vanilla extract for dreamy aroma. Gently fold in the flour and salt, mixing just until your batter is smooth and ready to go.
Step 2: Cook and Shape the Waffle Shells
Fire up your pizzelle press or waffle cone maker. Scoop about a tablespoon of batter onto the hot iron, close the lid, and cook until golden brown and fragrant. Time is of the essence here: as soon as a waffle is done, swiftly drape it over a rolling pin or spoon handle to form a taco shape. Let it cool in place so the shell hardens and keeps its form. Repeat with the rest of your batter and you’ll have a batch of irresistibly crispy taco shells.
Step 3: Dip Shells in Chocolate
While your shells are cooling, melt your chocolate chips with the coconut oil in a microwave-safe bowl (short, 30-second bursts, stirring well until smooth). Take each shell and dip the inside edges into the melted chocolate, giving you a sweet shield that keeps the ice cream from soaking through and adds that delightful bite. Let the chocolate set completely before moving on.
Step 4: Fill with Ice Cream
Scoop softened vanilla ice cream into each shell, smoothing it out with the back of a spoon for a neat, full taco. Don’t press too hard — you want plenty of ice cream without cracking those precious shells! Place each filled taco on a tray lined with parchment paper, ready for the next step.
Step 5: Top with More Chocolate and Peanuts
Drizzle the tops of your loaded tacos with the remaining melted chocolate (rewarm if needed for easy pouring). Before the chocolate sets, shower on a generous sprinkle of chopped peanuts or almonds. The chocolate will firm up as the tacos chill, locking in that snappy, crunchy topping.
Step 6: Freeze and Serve
For Homemade Choco Tacos at their very best, slide your finished treats into the freezer for about an hour. This step makes everything set and ensures an ice-cold, satisfying crunch with every bite. Then, gather your favorite people, grab a tray, and dig in!
How to Serve Homemade Choco Tacos
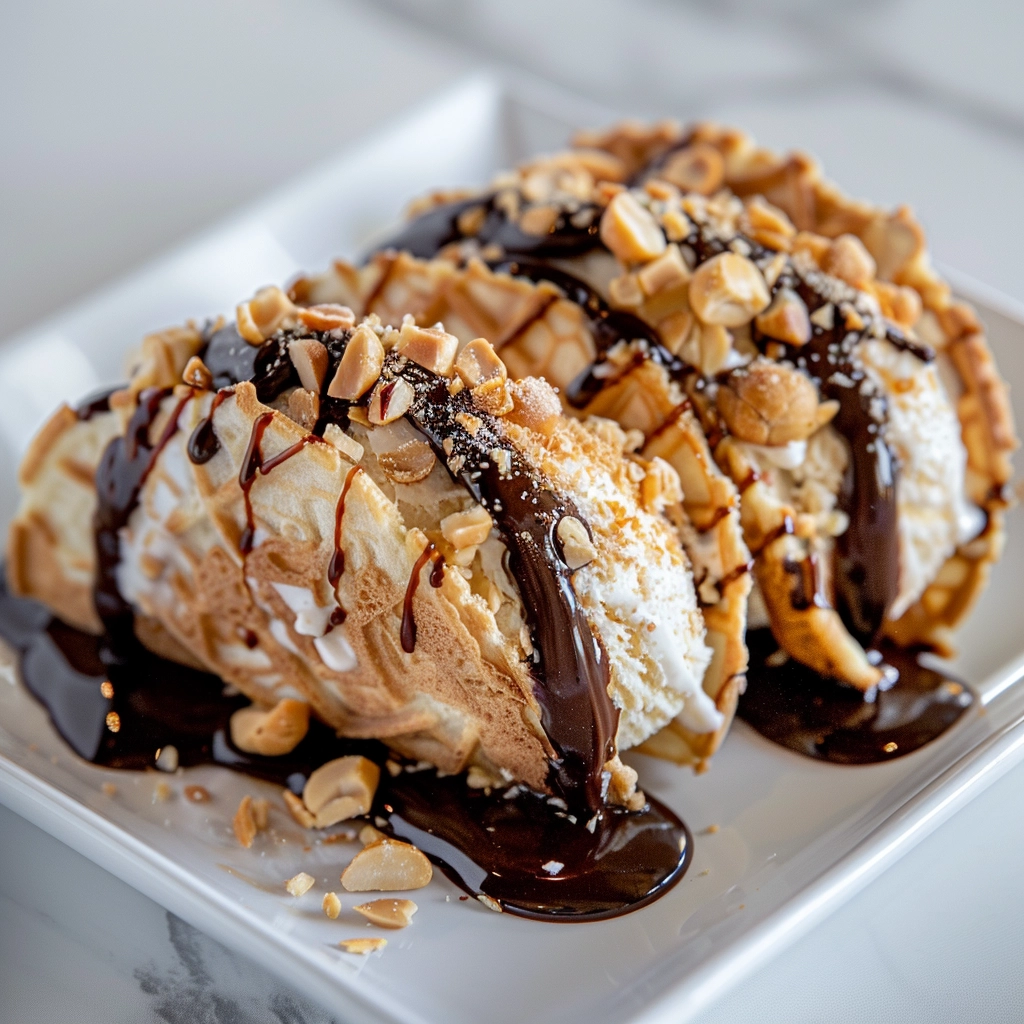
Garnishes
The magic of serving these tacos lies in all the finishing touches. A few extra chopped peanuts or a pinch of flaky sea salt bring out those craveable flavors. For a pop of color, toss on some rainbow sprinkles or a drizzle of caramel sauce. Every garnish turns your Homemade Choco Tacos into an unforgettable occasion!
Side Dishes
If you’re turning dessert into a summertime spread, pair your choco tacos with juicy sliced fruit or a scoop of pineapple or mango sorbet. For something even more over-the-top, serve with a bowl of hot fudge or homemade whipped cream on the side so everyone can dress up their taco just the way they love.
Creative Ways to Present
Homemade Choco Tacos look best when lined up on a chilled platter, taco truck-style! Try propping them upright on a bed of crushed ice or nestling each in its own cupcake liner for fuss-free serving at a party. Bring out a “toppings bar” so guests can dip and sprinkle to personalize every bite — guaranteed to make your kitchen the happiest place in the house.
Make Ahead and Storage
Storing Leftovers
If you have extra choco tacos (or simply want to pace yourself), arrange them in a single layer in an airtight container, separating layers with wax or parchment paper. This keeps the shells crisp and the ice cream deliciously fresh for up to four days in the freezer.
Freezing
Homemade Choco Tacos are freezer superstars! For best results, wrap each one individually in plastic wrap and then pop them in a freezer-safe bag or container. This protects against freezer burn and keeps the flavors and textures spot-on for up to two weeks.
Reheating
There’s really no reheating needed — they’re designed to be eaten straight from the freezer. If you prefer a slightly softer shell or creamier filling, let them sit at room temperature for 2 to 4 minutes before serving. They’ll taste just like they’ve come off the ice cream truck!
FAQs
Can I use store-bought waffle cones instead of making my own shells?
Absolutely! If you’re short on time or don’t own a waffle press, you can buy waffle or sugar cones, carefully break them in half, and gently warm and reshape them into taco forms. While homemade shells have unbeatable texture, store-bought is a worthy shortcut on busy days.
What other ice cream flavors work in Homemade Choco Tacos?
The sky’s the limit! Try chocolate, coffee, cookies & cream, or even strawberry for a fun twist. You can also swirl two flavors together or mix in bits of cookie dough for extra indulgence.
How do I prevent my waffle shells from getting soggy?
Dipping the inside of each shell with melted chocolate acts as a barrier and keeps your shells perfectly crisp, even after filling. Be sure to fill and freeze the tacos soon after assembling to avoid melting mishaps.
Can I make Homemade Choco Tacos nut-free?
Definitely! Just skip the nut topping, or use sunflower or pumpkin seeds as a crunchy alternative. You could even add toasted coconut flakes for a completely new taste and texture.
What’s the best way to transport choco tacos to a party or picnic?
Freeze them until completely firm, then wrap each taco snugly in foil or wax paper. Pack them in a cooler with plenty of ice packs, keeping them upright and snug so their shape stays perfect until you’re ready to serve.
Final Thoughts
There’s something uniquely joyful about making Homemade Choco Tacos — from that first shell to the last nutty sprinkle, you’ll taste the care in every bite. Give them a try the next time you want to share a little fun, a little nostalgia, or just treat your favorite people to something utterly unforgettable!

Homemade Choco Tacos Recipe
- Prep Time: 20 minutes
- Cook Time: 10 minutes
- Total Time: 1 hour 30 minutes
- Yield: 6 choco tacos 1x
- Category: Desserts
- Method: Stovetop
- Cuisine: American
- Diet: Vegetarian
Description
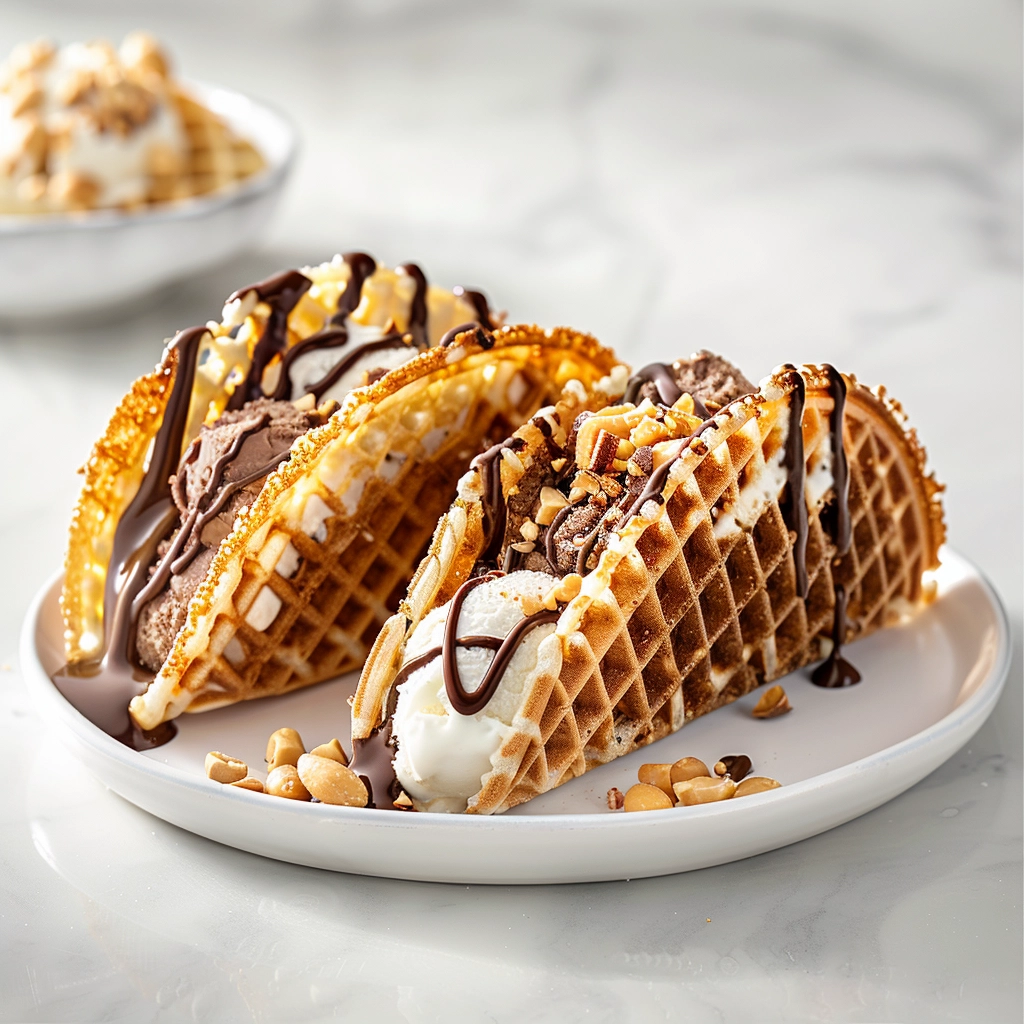
These Homemade Choco Tacos feature crisp waffle taco shells lined with rich chocolate, then filled with creamy vanilla ice cream and sprinkled with crunchy peanuts. A whimsical, nostalgic treat inspired by the classic ice cream truck favorite, made easily at home for the perfect summer dessert or fun party snack.
Ingredients
For the Waffle Shells:
- 2 large eggs
- 1/2 cup granulated sugar
- 1/4 cup unsalted butter, melted
- 1/3 cup milk
- 1/2 teaspoon vanilla extract
- 1/2 cup all-purpose flour
- Pinch of salt
For the Filling & Coating:
- 4 cups vanilla ice cream (slightly softened)
- 1 cup semi-sweet chocolate chips
- 1 tablespoon coconut oil
- 1/3 cup chopped peanuts (or almonds, optional)
Instructions
- Make the Waffle Batter: In a mixing bowl, whisk together the eggs and sugar until the mixture is pale and thick. Pour in the melted butter, milk, and vanilla extract, then whisk until combined. Add in the flour and a pinch of salt, stirring until the batter is smooth with no lumps.
- Cook the Waffle Shells: Preheat your pizzelle press or waffle cone maker. Scoop about 1 tablespoon of batter onto the press and cook according to the manufacturer’s instructions until golden brown. While still warm, quickly drape each waffle over a spoon handle or rolling pin to form a taco shape. Allow to cool and harden.
- Prepare the Chocolate Coating: In a microwave-safe bowl, combine the chocolate chips and coconut oil. Microwave in 20-second bursts, stirring until melted and smooth.
- Coat the Taco Shells: Dip the inside edges of each cooled shell into the melted chocolate to create a barrier and enhance flavor. Place each shell on a tray and let the chocolate set.
- Fill with Ice Cream: Spoon or scoop softened vanilla ice cream into each taco shell, gently pressing to fill evenly. Smooth the top with a spatula or back of the spoon.
- Add Toppings: Drizzle any remaining melted chocolate over the filled tacos, then sprinkle with chopped peanuts for crunch (or almonds, if using).
- Freeze and Serve: Arrange the finished choco tacos on a tray and freeze for at least 1 hour, until firm. Serve straight from the freezer and enjoy!
Notes
- Work quickly when shaping the waffle shells—once they cool, they harden and won’t bend.
- Wrap the tacos individually in parchment paper for easy storage in the freezer.
- Swap in your favorite ice cream flavors or toppings for a personalized twist.
- Use almonds or hazelnuts if you prefer a different nutty topping for the choco tacos.
- Let ice cream soften slightly for easy filling, but don’t over soften or it may melt too quickly.
Nutrition
- Serving Size: 1 choco taco
- Calories: 330
- Sugar: 23g
- Sodium: 75mg
- Fat: 19g
- Saturated Fat: 10g
- Unsaturated Fat: 7g
- Trans Fat: 0g
- Carbohydrates: 34g
- Fiber: 2g
- Protein: 6g
- Cholesterol: 65mg


Your email address will not be published. Required fields are marked *